
Installing on Windows
To perform an installation using the graphical installation wizard, you must have superuser or administrator privileges.
The following section walks you through installing PostgreSQL on a Windows host.
To start the installation wizard, assume sufficient privileges and double-click the installer icon; if prompted, provide a password.
Note that in some versions of Windows, to invoke the installer with Administrator privileges, you need to right-click on the installer icon and select Run as Administrator from the context menu.
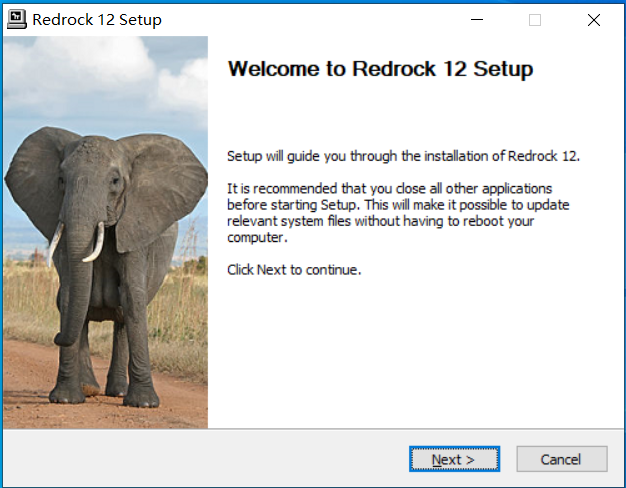
The Redrock 12 Setup Welcome window opens. Click Next to continue.
The Choose Install Location window opens. Accept the default installation directory, or specify an alternate location and click Next to continue.
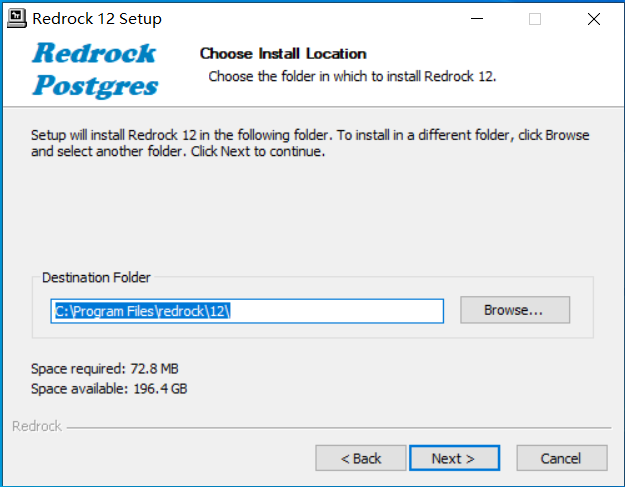
Click Next to continue.
The Choose Data Directory window opens. Accept the default location or specify the name of the alternate directory in which you wish to store the data files.
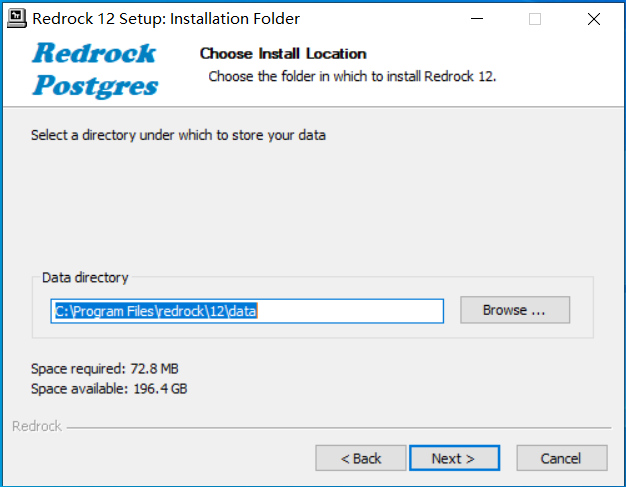
Click Next to continue.
The Server Options window opens.
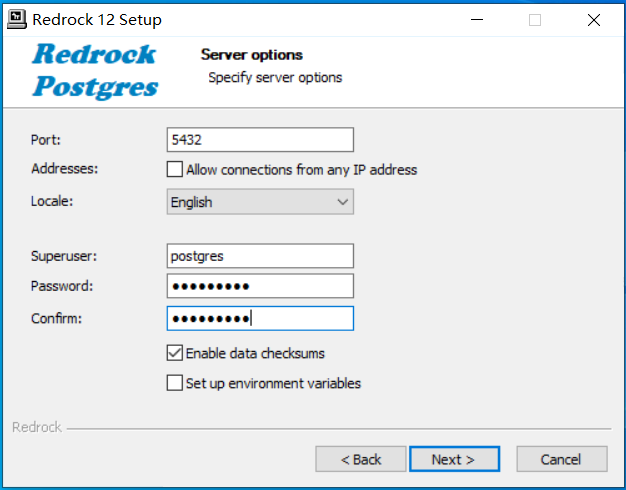
PostgreSQL uses the Port field to specify the port number on which the server should listen. The default listener port is 5432.
Use the Locale field to specify the locale that will be used by the new database instance. The Default is the operating system locale.
Use the Superuser field to specify the database superuser name. The default superuser name is postgres.
Use the Password field to specify the database superuser password. The specified password should conform to enough complexities. After entering a password in the Password field, and confirming the password in the Retype Password field.
Click Next to continue.
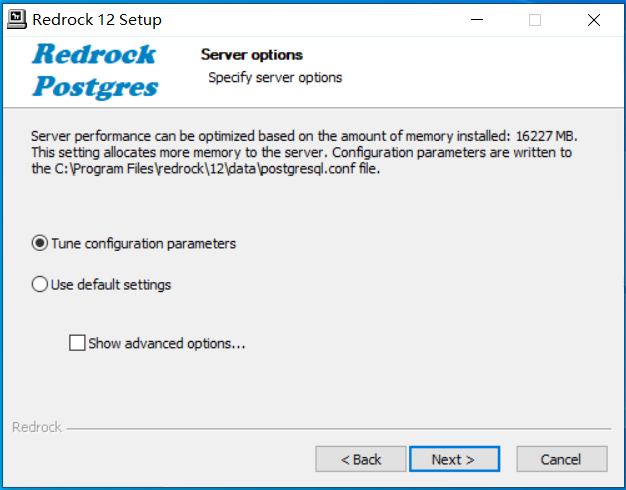
The Setting Configuration Parameters dialog will guides you to optimize server performance by setting some important configuration parameters. Maybe you can let the installer tune configuration parameters automatically, and click Next to continue.
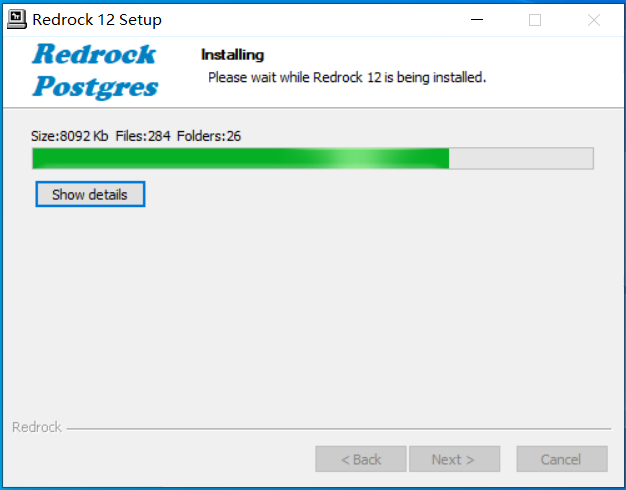
During the installation, the setup wizard confirms the installation progress of PostgreSQL via a series of progress bars.
When the Completing Redrock 12 Setup window appears, Congratulations! Click Finish to complete the PostgreSQL installation.
